Introduction
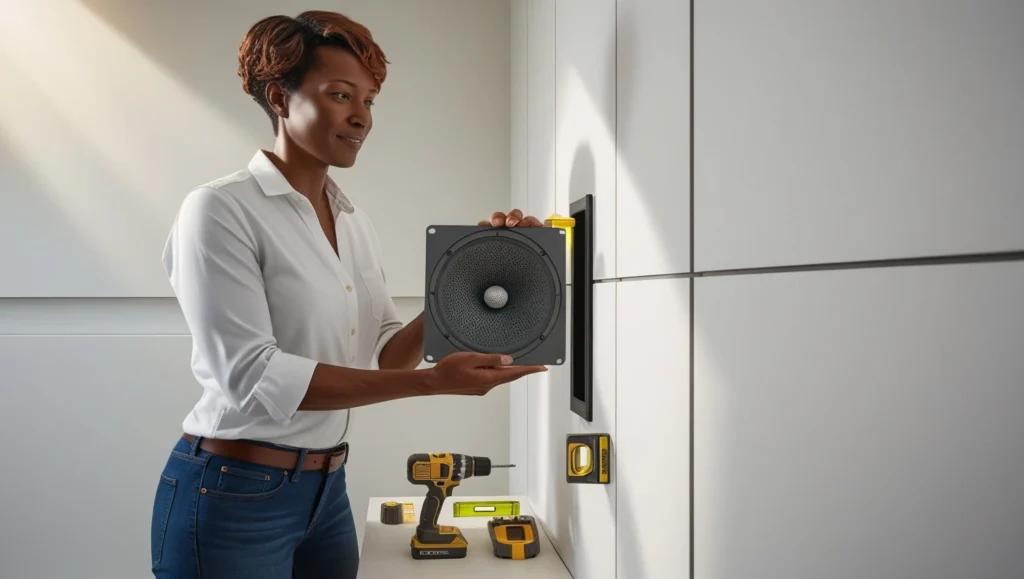
Installing speakers properly is crucial for both sound quality and safety. This comprehensive guide will walk you through the process of installing a standard 5×8 speaker mount, ensuring professional results even for DIY enthusiasts. Whether you’re mounting speakers in your home theater, studio, or commercial space, these instructions will help you achieve a secure and precise installation.
1. Understanding Your Mount
The 5×8 speaker mount refers to a mounting pattern with the following specifications:
- Width: 8 inches between mounting holes
- Height: 5 inches between mounting holes
- Standard configuration: 4 mounting points
- Typical weight capacity: 20-50 lbs (depending on wall material and hardware used)
2. Required Tools and Materials
Essential Tools:
- Drill with various bit sizes
- Level
- Measuring tape
- Pencil
- Stud finder
- Phillips head screwdriver
- Safety glasses
- Dust mask
Required Materials:
- Mounting template (provided below)
- Appropriate screws for your wall type
- Wall anchors (if not mounting into studs)
- Washers
- Speaker mount hardware kit
3. Preparation Steps
Safety First
- Always wear safety glasses when drilling
- Use a dust mask when working with drywall
- Ensure proper ventilation
- Verify no electrical wires or plumbing are behind drilling locations
Location Selection
- Use a stud finder to locate wall studs
- Mark stud locations with painter’s tape
- Consider speaker height for optimal listening experience
- Typical height: ear level when seated
- For surround sound: 2-3 feet above ear level

4. Template Creation and Usage
Template Specifications
- Overall dimensions: 5×8 inches
- Hole diameter: Typically 1/4 inch (verify with your specific mount)
- Corner radius: 1/8 inch standard
Using the Template
- Print template at 100% scale (no scaling)
- Verify measurements after printing
- Use level to ensure template is straight
- Tape template to wall
- Mark hole centers through template
- Double-check measurements before drilling
5. Installation Process
Step-by-Step Installation
- Prepare the Wall
- Locate and mark studs
- Hold template against wall
- Use level to ensure perfect alignment
- Mark hole locations
- Pilot Holes
- Drill pilot holes using 1/8″ bit
- For drywall anchors: use appropriate size
- Keep drill perpendicular to wall
- Mount Installation
- Install wall plate
- Torque screws to specifications
- Verify mount is level
- Install speaker bracket
- Speaker Attachment
- Carefully lift speaker into position
- Secure all safety locks
- Tighten all adjustment points
6. Testing and Safety Checks
Physical Checks
- Verify all screws are tight
- Check mount is level
- Test weight bearing gradually
- Ensure full range of motion (if adjustable mount)
Sound Checks
- Test at low volume
- Check for vibrations
- Verify speaker angle
- Test at various volumes
7. Troubleshooting
Common Issues and Solutions
Mount Feels Loose
- Verify screw tightness
- Check wall anchor integrity
- Ensure proper size hardware used
- Consider adding additional support
Uneven Installation
- Use shims if necessary
- Double-check level measurements
- Verify wall surface is flat
- Adjust mounting brackets
Vibration Problems
- Add rubber washers
- Check all connection points
- Verify speaker bracket tightness
- Consider dampening material
8. Maintenance Tips
Regular Maintenance Schedule
- Monthly:
- Check all visible screws
- Listen for unusual vibrations
- Verify level alignment
- Quarterly:
- Tighten all accessible hardware
- Clean mounting points
- Check wall integrity around mount
- Annually:
- Complete hardware inspection
- Test all adjustment points
- Verify weight capacity hasn’t been exceeded
Conclusion
A properly installed 5×8 speaker mount ensures both optimal sound quality and safety. By following this guide and using the provided template, you can achieve professional-quality results. Remember to always prioritize safety and take your time with measurements and installation steps.